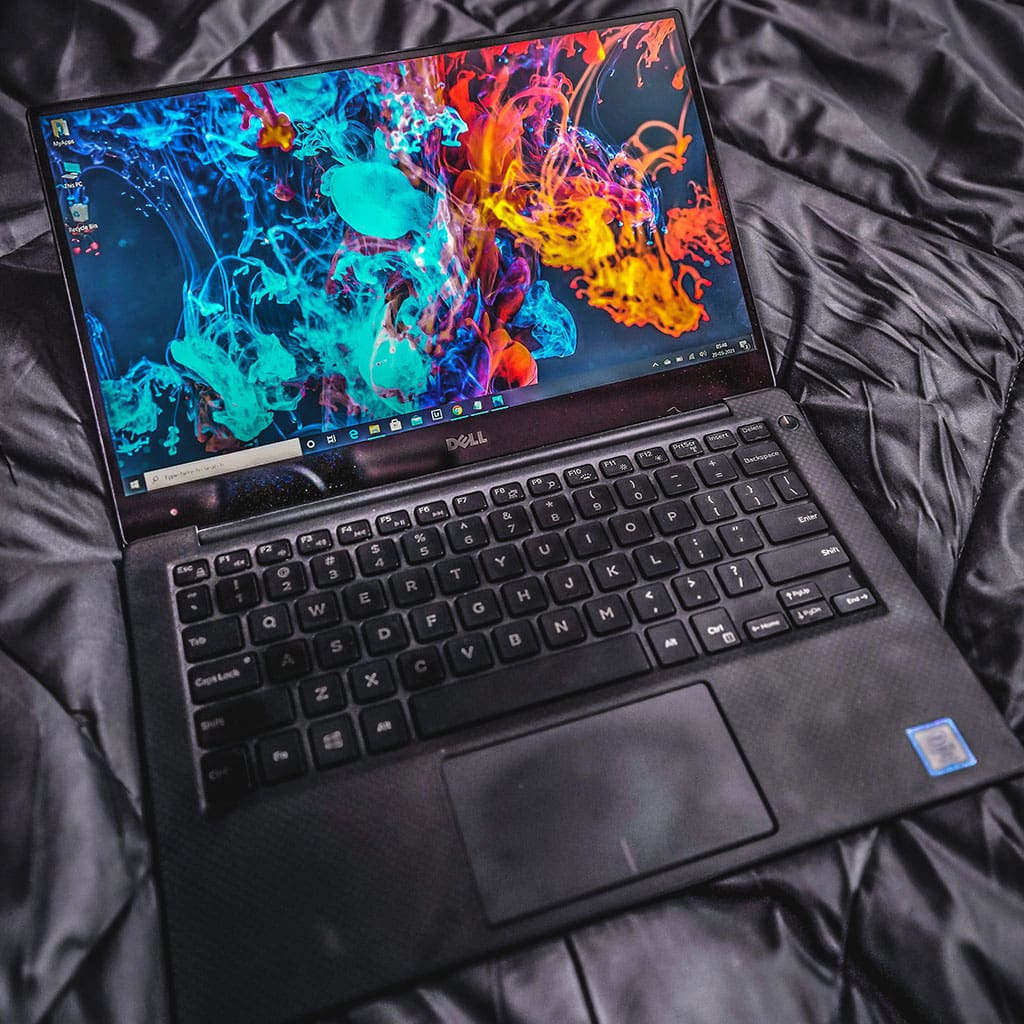
Taking screenshots on a Dell laptop is quick and simple, allowing you to save images of your screen or share them with others. In this article, we will guide you through the steps to take a screenshot on a Dell laptop. With just a few keystrokes and clicks of your mouse, you will be able to capture images of anything appearing on your computer screen in no time.
What is a Screenshot?
Taking screenshots is a great way to capture information from the digital world. It enables us to capture and save the exact data as seen on any kind of application, be it a web page, games, software programmes, etc. With its help even small details can be captured that could not have been noticed if we had just stuck to reading through text. The screenshot feature is available in almost every operating system today meaning one can take creative pictures and share them with others too.
Beyond saving and sharing screenshots, this feature also helps us to troubleshoot our technical problems or bugs we may face in our work. We all are familiar with the frustratingly tedious process of manually writing down all the details like error codes and version numbers while trying to fix an issue. But with screenshots much of this work becomes simple – you only need to take a screenshot of whatever issue you’re facing (for example if your computer crashes) and send it off for support services who will know what your problem is right away!
Capture your screen with Print Screen
The Print Screen key is a simple and effective way to capture what’s happening on your computer screen. Located between ‘F9’ and ‘Scroll Lock’, it is typically labeled as ‘Prt Sc’ on Dell laptops. While this method may not be the most advanced for capturing images of your screen, it is convenient for switching between different proportions.
Using the Print Screen key in combination with other keys such as Alt or Fn, you can easily take full or partial screenshots at any time. This method works perfectly on Windows 8, Windows 8.1, and Windows 10, allowing you to capture images of whatever you need with just a few clicks. With a little practice, you’ll be able to master the Print Screen combos in no time!
To capture an image of your Dell laptop screen, utilize the Snipping Tool
If you want to take a screenshot on your Dell laptop, one of the best methods is to use the Snipping Tool. This is a built-in Windows application that allows you to capture different types of screenshots such as rectangular snips, free-form snips or full-screen snips. Find the Snipping Tool by searching for it in the Start Menu.
The tool will then appear with different options such as taking new snip or edit existing ones. You can either select ‘New’ or press ‘Ctrl + N’ together from which you can choose the shape of your screenshot. From here, all you have to do is select an area of your screen and save it in a desired location. In this way, you can quickly create unique screenshots for any purpose related to Dell laptops.
Capture Dell screenshots easily with Markup Hero
Taking a screenshot on Dell PCs is easy, however if you want to take it to the next level and get more out of your capture experience then Markup Hero is definitely the best alternative. This simple yet powerful application enables you to not just take screenshots but adjust and edit them right in their interface with intuitive controls that are easy to use. With Markup Hero you can quickly capture thoughts and ideas, mark them up as needed and easily share your files with friends or colleagues directly. Additionally, tagging, sorting your images into folders and uploading them directly to the web is simplified greatly with this software – making sure that anyone can establish a clear line of communication when it comes to sending files and documents around which ultimately speeds up workflow. And the best part is – this program even has free version available so there’s nothing holding you back from trying out its features for yourself!
Where are screenshots saved?
When taking a screenshot on your Dell laptop, the image is automatically captured in your clipboard. That means that in order to save it, you will need to paste the image on a graphics editing tool such as Microsoft Paint. Once pasted, click on the Save icon and you will be prompted with a dialog box. This is where you can select the location for saving your screenshot folder. By default, screenshots are stored in a folder labeled ‘Screenshots’ within your Pictures Folder. To get there, simply open up File Explorer from Start Menu and go to Libraries->Pictures->Screenshots. The Screenshots Folder should be located here unless you or someone else have changed its location previously. You can also create subfolders within this main folder if you want different categories of screenshots to be kept separately.


