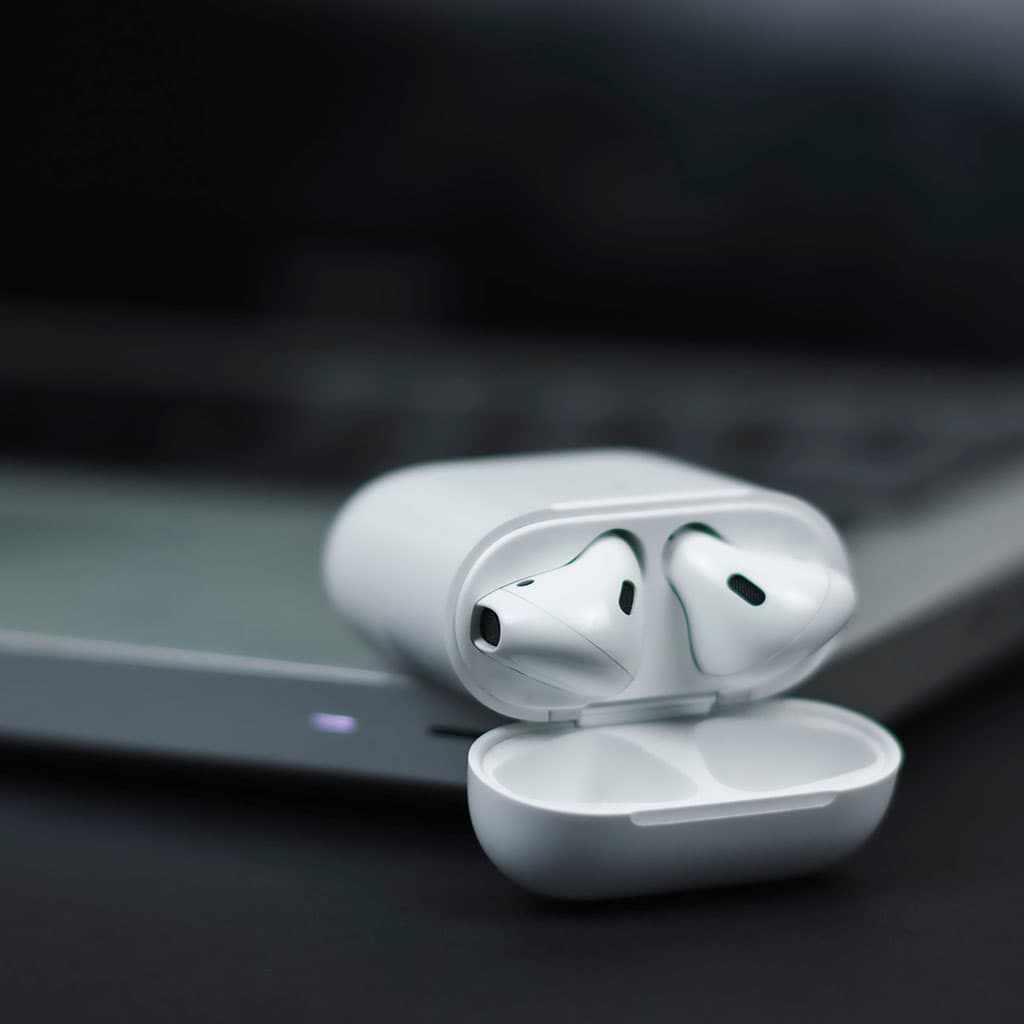
The Apple AirPods are popular wireless headphones that offer good listening and convenience. They can be connected to a laptop, but it’s not always easy. Depending on the laptop and operating system, there are various ways to connect the AirPods to the laptop.
The process of pairing AirPods with a Windows laptop
Pairing AirPods with a Windows laptop is easy. All you need to do is ensure that the Bluetooth setting on your computer is turned on and then follow a few simple steps. First, open the Action Center by clicking the chat bubble icon in your taskbar or pressing Win + A. Then right-click the Bluetooth tile and click ‘Go to Settings’. Scroll down and make sure the Bluetooth toggle switch is activated, which will enable your laptop to discover devices within range. After that, click ‘Add Bluetooth or other device’ and select ‘Bluetooth’. Finally, put the AirPods into pairing mode by opening its case and long-pressing the button on the back until you see a white light LED flashing – this indicates that it’s ready for connection.
Once all these steps are complete, you’ll be able to pair your AirPods with your Windows laptop easily without having to go through complicated settings menus or installing any additional software. This makes it simpler for users who want to utilize their headphones with compatible devices without much hassle. Additionally, keeping Bluetooth enabled in your laptop allows for more secure sharing of data from one source to another even if they’re not directly connected via wires or cords.
Connecting in Windows 10
Connecting AirPods to a Windows 10 computer is easier than ever. To begin connecting your AirPods, open the Settings menu by pressing Win + I on your keyboard. Then, click the “Devices” icon near the top of the page. You will then be directed to a new page where you must click “+ Add Bluetooth or other device” at the top-right corner of the screen. After doing so, place your AirPods in pairing mode by in keeping them in their case and pressing and holding the button on the back or inside of it until it flashes white. Finally, click your AirPods to connect them to your Windows 10 device.
Once connected, you can use your Windows 10 computer as either an audio output device or an input device with your AirPods. This allows you to enjoy expanded sound options for all kinds of activities including video calling, web browsing, music listening and more. Moreover, you can also use Media Remote features allowing you to control various playback operations like play/pause and navigating menus as well as answer incoming calls from devices that support this feature – making it even more convenient and integrated way of using AirPods with Windows 10 devices!
If the AirPods fail to connect on a Windows device, what steps should be taken?
If your AirPods won’t connect in Windows, one of the first things you should do is to make sure you have the default audio set to your AirPods. Open the arrow next to your speaker icon and ensure your AirPods are selected as the audio output device. If they are connected but you don’t hear any sound, adjust the volume by moving the slider either left or right.
Another simple solution that often works is to restart your laptop completely. Turning it off and back on can often fix any connection issues with the AirPods. Lastly, make sure that your AirPods are in pairing mode by opening the case and pressing and holding down the button until a white light flashes. This might help resolve any disconnection errors preventing your AirPods from connecting in Windows.


