Windows 10 has a useful feature for multitasking called Split Screen. This allows you to divide your screen into two or more sections so that you can view multiple apps and documents at the same time. Splitting your screen can help you work faster, become more organized, and be more productive. his tutorial will demonstrate the step guides of splitting the screen in Windows 10.
Learn how to use the Snap Assist feature on Windows 10
Snap Assist is one of the most useful features of Windows 10, allowing for easy and efficient multitasking. This feature allows users to adjust their open windows across the screen in a snap. All you have to do is drag your chosen window to the edge of the screen and it will automatically split into two halves. If you don’t have other applications or windows open, you can also drag a second window over to the other half.
If there are already other open applications on your screen, Snap Assist will also show a selection grid with options that can fill the second half. To secure the second window, click on it and it will align itself with the first one. Regardless, it’s simple to use Snap Assist as all you need is a quick drag and click motion to set up your multitask display. It’s an efficient way of arranging multiple windows at once, without having to manually resize them yourself.
The process of opening more than two windows in Windows 10
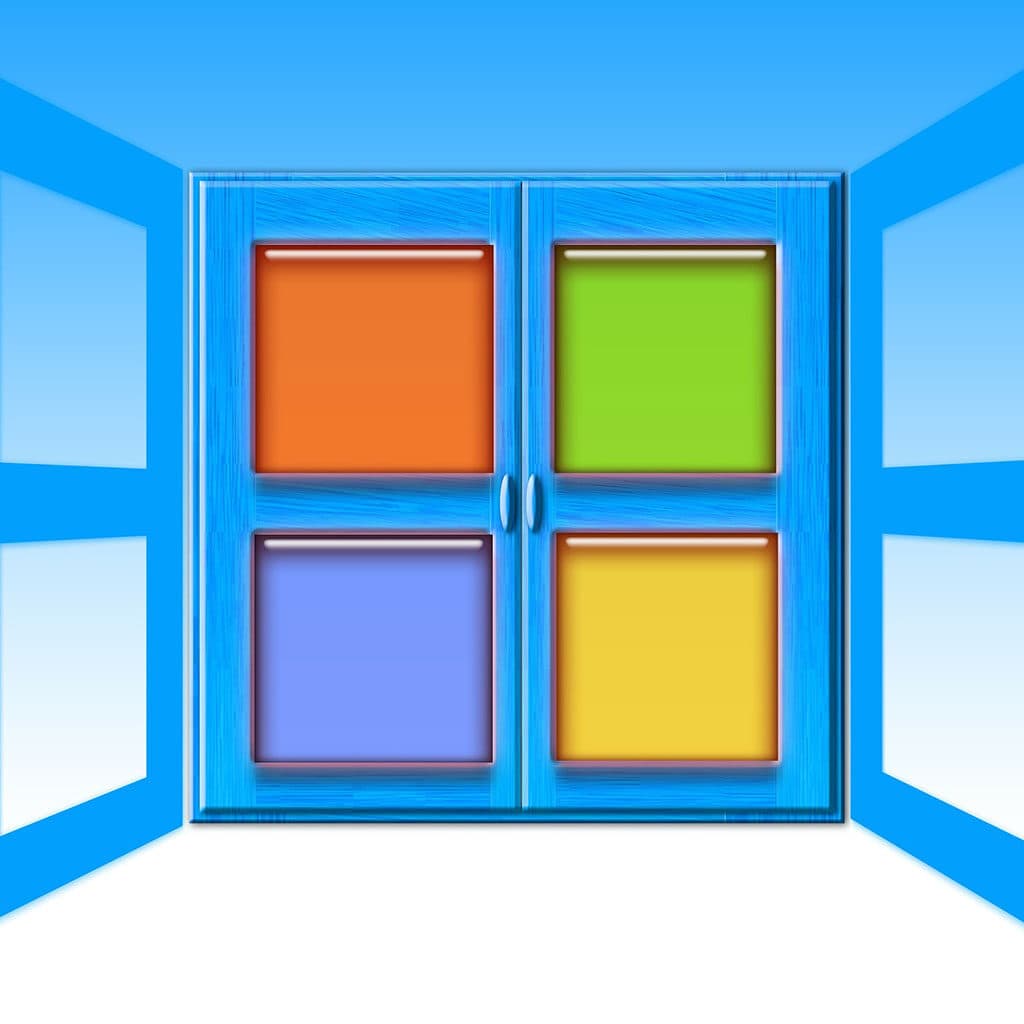
With Windows 10, users can make the most of large or Higher-resolution display by utilizing the Corner Snap feature. This allows users to snap up to four separate windows onto a single window, so they can access multiple tasks simultaneously. To use this feature, simply drag and drop whichever window you would like into any corner of your screen.
To move a displaced window to a designated location, press and hold the Windows key and utilize the arrow keys (Up/Down and Left/Right) in combination. Once one window is in place, you can then snap an additional window into any other available corner. Making use of Corner Snap is an effective method for multitasking and managing your workspace more efficiently. By organizing all of your windows at once, you can spend less time navigating through different applications and utilize all of your display’s real estate with ease. With this handy feature, users will be able to maximize their productivity with minimal effort.
Keyboard shortcut
Keyboard shortcuts are not only efficient, but also time saving for Windows users. An example of a popular and useful shortcut is the ability to quickly split windows in each direction within an active window. To perform this action, simultaneously hold down the Windows key and either the left or right arrow key on the keyboard. This action should automatically snap the active window to the left or right side of the screen, allowing you to select another window of choice to fill in the second empty space on either side.
If you want to expand a window back to full-screen mode again, all one needs do is press simultaneously both the Windows key and Up arrow key from your keyboard again. By using these handy keyboard split screen shortcuts you can optimize your workflows with relative ease and repetitive tasks become much more speedy! With just a few simple presses of keys, navigating between windows can be done in mere seconds that would otherwise take minutes or even hours if done manually. So next time you are at it with your Windows system, don’t forget make use of these valuable tools.
Customize Snap Assist and settings
Snap Assist can be a handy feature for quickly and easily arranging windows on your desktop. However, if it begins to be too much of a hassle or gets in the way, it is easy to turn it off. The first step is to open the Settings app from the Start Menu. It is represented by a gear icon on your homepage. Next, select System and then Multitasking on the left-hand side. From there you can choose window snapping options that best suit your preferences.
By deactivating Snap Assist, you will no longer have windows being automatically arranged when you drag one edge of a window towards another edge of the screen. This provides an easy way to simplify how windows are placed on your display, allowing you to organize them according to your own unique vision while removing any potential frustrations that Snap Assist can bring with its auto-arranging capabilities. Windows 10 allows users more control over their workspace with this simple option.
One way to split your computer screen is by using your mouse
Splitting your screen is a great way to multitask and view different windows at the same time. Whether you need to access multiple documents, screenshots or browser tabs, Windows 10 makes it possible to conveniently adjust the size of these windows. The split-screen feature allows users to quickly customize their workspace with just two simple steps.
First, find the two windows that you would like to display on your screen. With one window highlighted, press and hold the window’s title bar – which is located at the top of the window — and drag it to either the far left corner or far right side of your screen. Then, release it when its border touches the edge of your monitor’s border. Similarly, grab a second window from its title bar and move it over to either side until both windows are positioned next to each other as desired. This effectively splits your screen into two separate sections so you can easily switch back and forth between them without having to close any open content.
If you would like to display four independent windows simultaneously on your monitor, repeat this process with two additional ones after you have already successfully split your primary pair into columns. This will allow each window its own quarter of space in a more structured manner versus simply dragging
Using split windows on a screen may lead to increased productivity
Split windows on screen are highly useful especially to users who have a large monitor. By using split window, you can have two or more windows open and visible in the same screen. This eliminates the time wasted when having to move around between different windows as everything is accessible at once. Also, it simplifies multitasking considerably as all needed information can be accessed without having to close and reopen windows. If used effectively, this feature saves a lot of time when working with multiple programs at once.
This feature also functions satisfactorily for those who do not want so many opened windows on their task bar. All data required can still be seen easily by splitting them into different screens for easier access. This functionality also allows users to see two or more workspaces simultaneously depending on the type of applications they are running which is extremely convenient for split screen multitasking and deeply researching topics through different applications straight from your computer screen.
