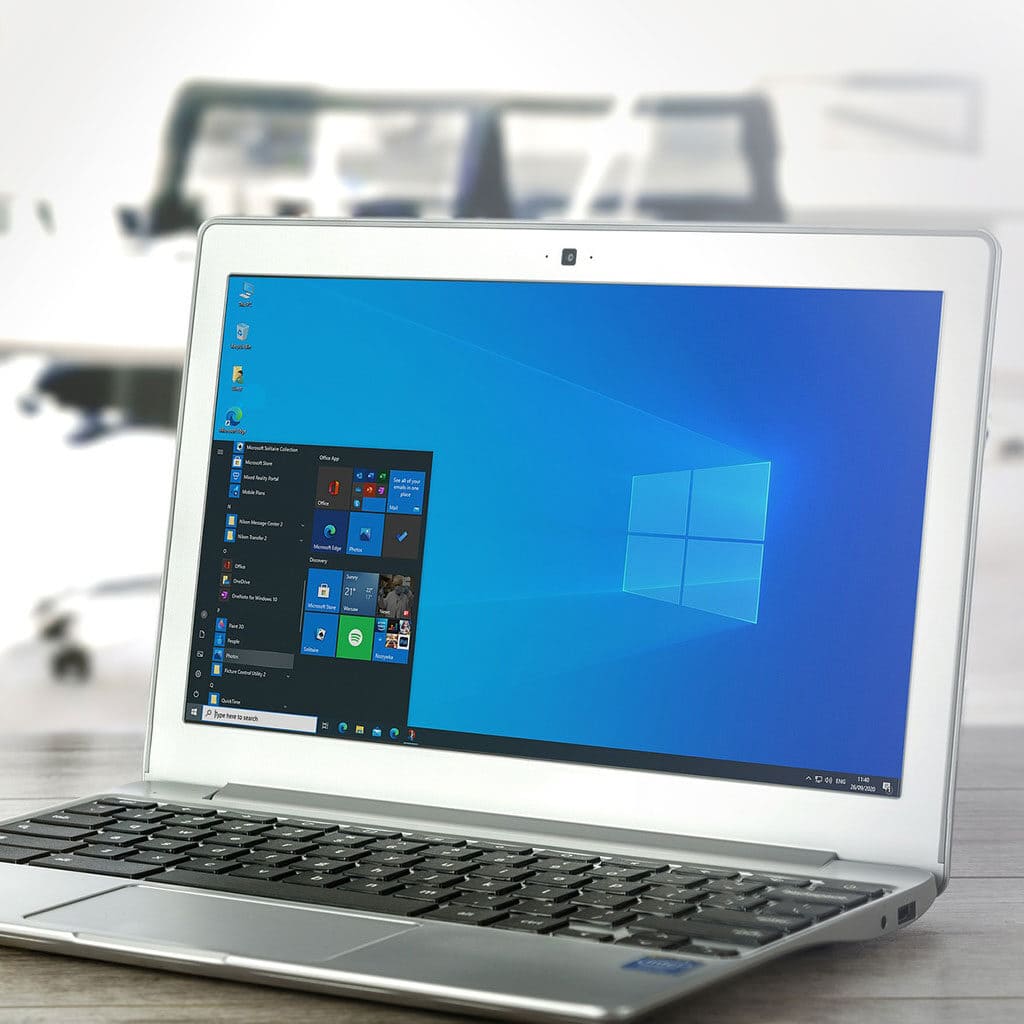
Windows 10 is a powerful, feature-rich operating system that comes with a variety of built-in applications and programs. These apps can be useful for many users, but at times they may need to be removed or uninstalled if they are no longer needed. Fortunately, uninstalling apps on Windows 10 is easy and straightforward. This guide will provide instructions on how to uninstall any application on Windows 10.
Uninstall programs via Start Menu
Uninstalling programs through the Windows Start Menu is a relatively simple process. Click on the Windows button at the bottom-left corner of your screen and locate the program you wish to uninstall in the list of apps. Right-click it and select Uninstall, then click Uninstall again to confirm. You may also press the Windows logo button on your keyboard to open the Start menu and locate all your programs alphabetically listed on the left side of your screen.
Once you’ve found the specific program you want to remove, right-click it and select Uninstall from the drop-down window. Confirm this action by once more clicking Uninstall before pressing OK or selecting Yes in any dialog boxes that appear afterward. That’s generally all there is to it – just follow these steps to quickly get rid of unwanted or outdated software using one of Microsoft Windows’ primary features!
Delete programs in Settings
Uninstalling programs through Settings is a quick and easy way to free up disk space and improve your computer’s performance. By following a few simple steps, you can quickly remove unwanted applications from your device. To begin, open the Windows start menu and select Settings. From inside this window, navigate to Apps > Apps & features which will bring up a list of all your installed programs. Select the program you wish to uninstall, then choose Uninstall in the pop-up message that appears. After completing this step, the program should be successfully removed from your system.
For an extra layer of security and peace of mind, you can use some third-party software to scan for leftover files that may have been left behind by incomplete uninstalls using Settings. This can be done after completing the uninstall process above in order to ensure that no invisible traces remain and no damage has been done to your system files. Additionally, this software can also help automate the uninstall process in just a few clicks if desired or help you keep track of what programs are currently installed on your device.
Instructions for uninstalling programs via the Control Panel
Uninstalling programs through the Windows Control Panel is a simple process that takes just a couple of minutes to do. To get started, open up the Windows Search Box by clicking on the magnifying glass icon in the bottom-left corner of your screen. Then type “Control Panel” into the search bar and click Open. Once inside, select Programs and Features from the list of options. From here, you can scroll down or use the search bar to find a program and double click it to select it. After choosing your desired program, click Uninstall followed by Yes to confirm.
Another way to uninstall programs through the Control Panel is if you already have the program open on your computer. By right-clicking its icon or searching for it in the Start Menu and selecting Uninstall or Change Program, you can initiate an uninstall tool that will guide you further through the process while offering insights into what components are being removed and giving you a chance to make sure everything has been properly taken care of before completing it. Although each uninstall will be slightly different depending on what program you’re dealing with, this is generally an easy way to quickly remove an unwanted application without having to navigate through menus.
Efficiently remove multiple Windows applications at once
Uninstalling applications on Windows can be a tedious endeavor, especially when there are multiple programs you’d like to get rid of. Manually running each uninstaller one at a time is not only time-consuming, but it isn’t the most efficient way to do it either. Fortunately, there’s an easier solution for bulk uninstalling applications: BCU (Bulk Crap Uninstaller).
BCU is a free and open source program that scans your computer for all the applications you don’t need and uninstalls them in bulk. It also offers features such as customization of which software you want to remove, as well as other options such as backing up registry entries prior to removal. As it is maintained by members of the community, users can have confidence in its trustworthiness. With BCU installed, uninstalling multiple applications quickly and easily has become significantly simpler.
Use PowerShell to Uninstall Built-in Apps
Using PowerShell is an excellent way to uninstall built-in apps from your Windows 10 machine. While most built-in apps can be removed with a simple PowerShell cmdlet, there are some exceptions—namely Cortana and Microsoft Edge—which cannot be uninstalled this way. To access PowerShell, you will need to open it as an administrator. This can be done by hitting the Windows+X keys on your keyboard and then selecting “Windows PowerShell (Admin)” from the Power User menu. If the Windows 10 Creators Update from Spring, 2017 has not been installed, the Command Prompt may be visible instead of PowerShell.
It should be noted that while uninstalling built-in apps with PowerShell is generally considered safe, there are always certain risks involved when making changes to your computer’s operating system in such a direct manner. In addition, due to what appear to be efforts put forth by Microsoft to stop users from removing bundled applications, new version of Windows 10 may eventually feature fewer removals available through this method. If you are looking for full control over which applications come preinstalled on your machine though, using PowerShell is currently one of the best options at your disposal.


