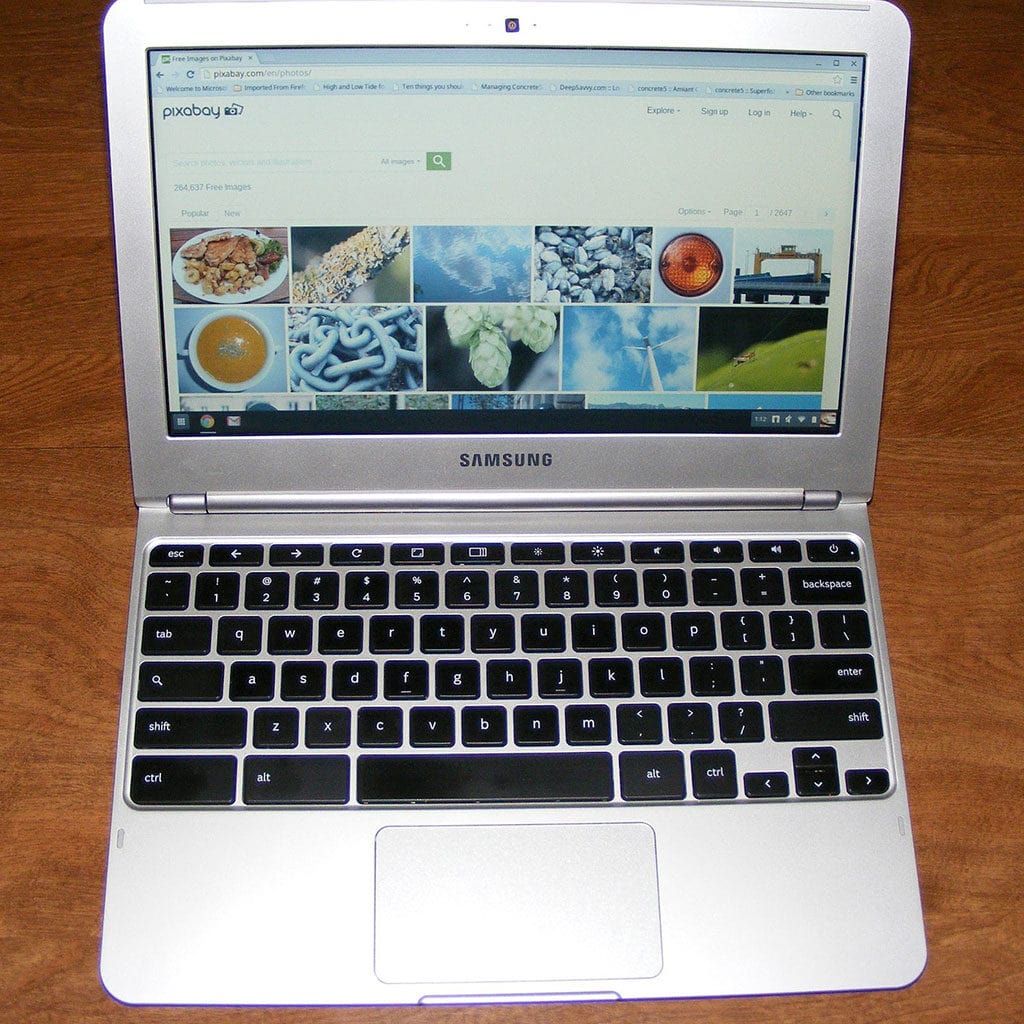
Printing from a Chromebook is incredibly simple and straightforward. With the rise of cloud computing, Chromebooks have become increasingly popular for their ease of use, portability, and affordability. As such, understanding how to print from a Chromebook is especially important as it’s a task you may need to do with some frequency.
Set up your printer with Wi-Fi
Setting up your printer with Wi-Fi can be a daunting task for the uninitiated, but need not be a source of fear if one follows the proper steps. If you have access to the manufacturer’s website, you can download an instruction manual that will help guide you through setting up your printer with wireless capabilities. To connect your printer with your Chromebook, ensure that both devices are on the same wireless network. That can be easily verified by clicking on the system clock located in the bottom right corner of your screen and verifying that both devices are on the same network.
Once confirmed, continue by clicking on the Cog icon which brings up several options related to setting up and managing your printer’s connection. Depending on what type of printer you have, those options may range from connecting manually via USB or bluetooth, communicating over networks like Wi-Fi or ethernet, or even scanning documents from a cloud server. Then it’s just a matter of following any additional instructions provided by your specific device’s setup wizard or user manual until you’ve successfully completed installation. With just a few clicks and some minor knowledge about networking basics, anyone should be able to set up their own wireless printing experience for their Chromebook.
Plug in printer with USB cable
Setting up a printer with a USB cable is an easy and straightforward process. Most modern printers will have a setup wizard so you can connect it to your Chromebook quickly. To establish a connection between the printer and the Chromebook, insert the USB cable into the assigned port. Depending on the model of your device, you may need a USB-A to USB-C adapter for the connection. Once plugged in, make sure that your printer is powered on and functioning normally.
To access the settings, click on the System Clock located in the bottom-right corner and select the Cog icon from the pop-up menu that appears. You’ll be taken to settings page where you’ll choose Printers & Scanner option and then Add Printer Settings. After selecting desired settings and printer driver, save them and reboot your computer afterwards. With correct drivers installed, follow instructions provided by add printer setup wizard which should be able to detect your connected printer so follow through until successfully finishing installation process. Now you are ready to start printing away!
Connect printer physically
Connecting a printer physically to your Chromebook can be a great way to get it working with minimal setup time. This is especially useful if you’re using an older printer that isn’t internet-capable, making the wireless connection method ineffective. All you need to do is acquire a USB cable, plug one end into the printer and the other into your Chromebook. Depending on your Chromebook’s ports, you may need an adapter too. Once all this is done, you will receive a pop-up notification asking if you would like to configure the printer. Click yes, select “Add Printer” and follow the directions from there. If this doesn’t work for some reason, head into your settings and type in “print” in the search bar for further instructions on connecting it physically. With this straightforward method of linking up your device with a physical cord, you can easily have your printer up and running in no time!
Print from the Chromebook
Printing from a Chromebook is very straightforward and easy. To print from the Chrome browser, simply open the item you want to print, click the Chrome browser settings icon, and then select Print. From the print window, you can specify which printer you would like to use and make any desired adjustments such as paper size or orientation. Additionally, most supported apps will allow printing in much the same way.
For photographers and graphic designers needing to put out their work in physical form quickly and easily, a Chromebook’s ability to print photos is invaluable. Simply click File > Print > Select your printer > Click Print and within seconds your project can be printed out on high quality paper with vibrant colors that are sure to impress any client or friend. With a few clicks of the mouse and simple instructions, anyone can grab a quick hard copy of anything they need printed in an instant!
Conclusion
In conclusion, printing from a Chromebook is an easy process once you have the correct drivers installed and your printer connected. Whether you are connecting via USB, wireless network, or directly through the Chromebook itself, getting your device ready to print should take no more than several minutes. Once set up is complete, printing documents or photos is as straightforward as a few clicks of the mouse and selecting desired settings from the Print window. With modern printers becoming increasingly easier to use and set up, anyone can get their device ready to go in no time at all!


